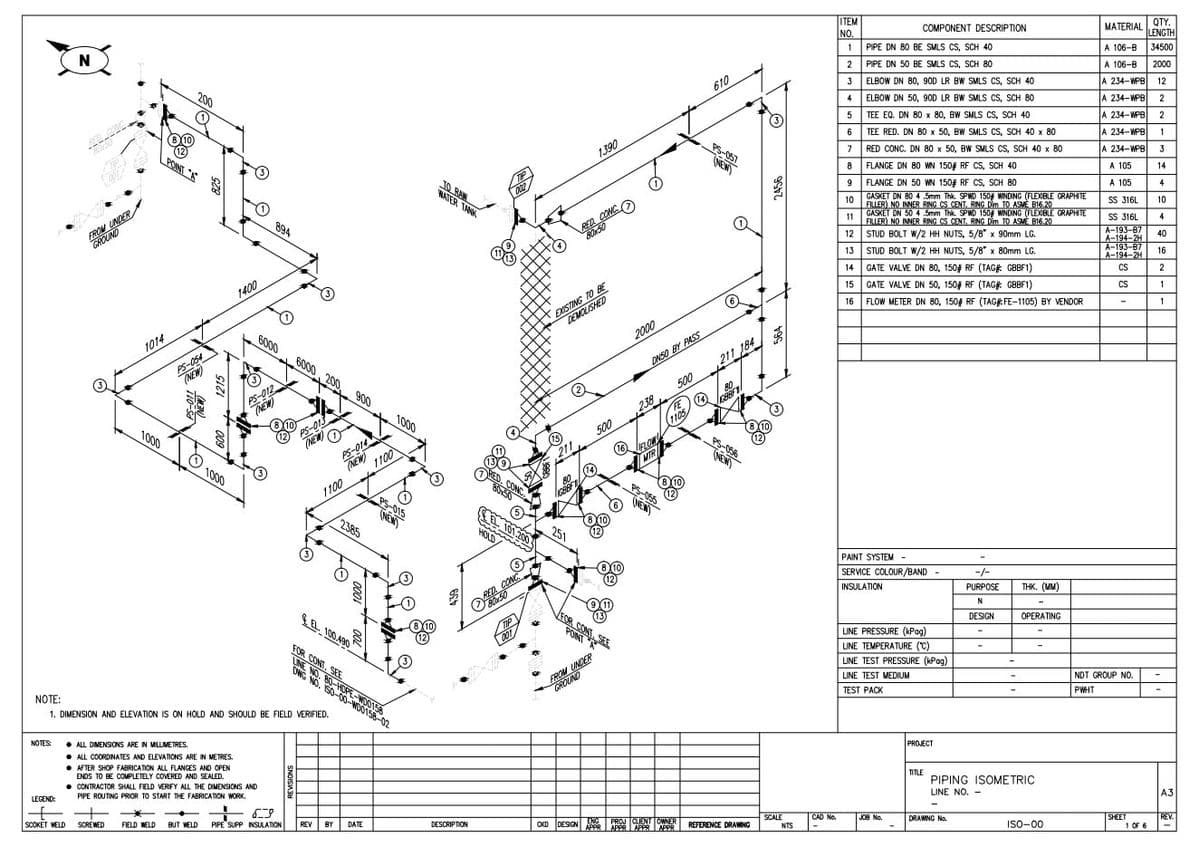
How most jobs are tracked today
The supervisor writes “SP-12 finished” on a scrap of paper. QC prints the iso, marks it by hand on the floor, walks back and types it into the weld map. Someone else types the same weld into the NDT log. The PM walks the floor to find out where the job is.
At the end, someone rebuilds the data pack from all of it, in a hurry, with a client inspector waiting.
Nobody thinks this is a good system. It just never gets questioned, because there's always a job to deliver.
One day on a job, one record
Every weld and spool lives once, on the drawing. Each person fills their own part of it, where they are, when it happens. These are real screens from the app.
Supervisor, on his phone
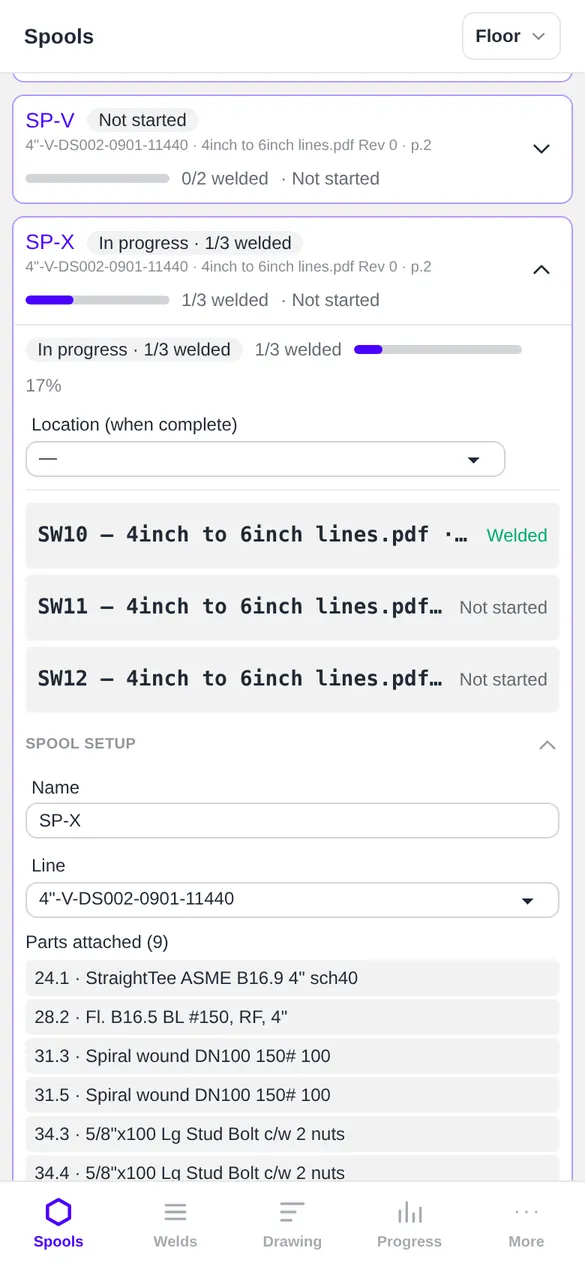
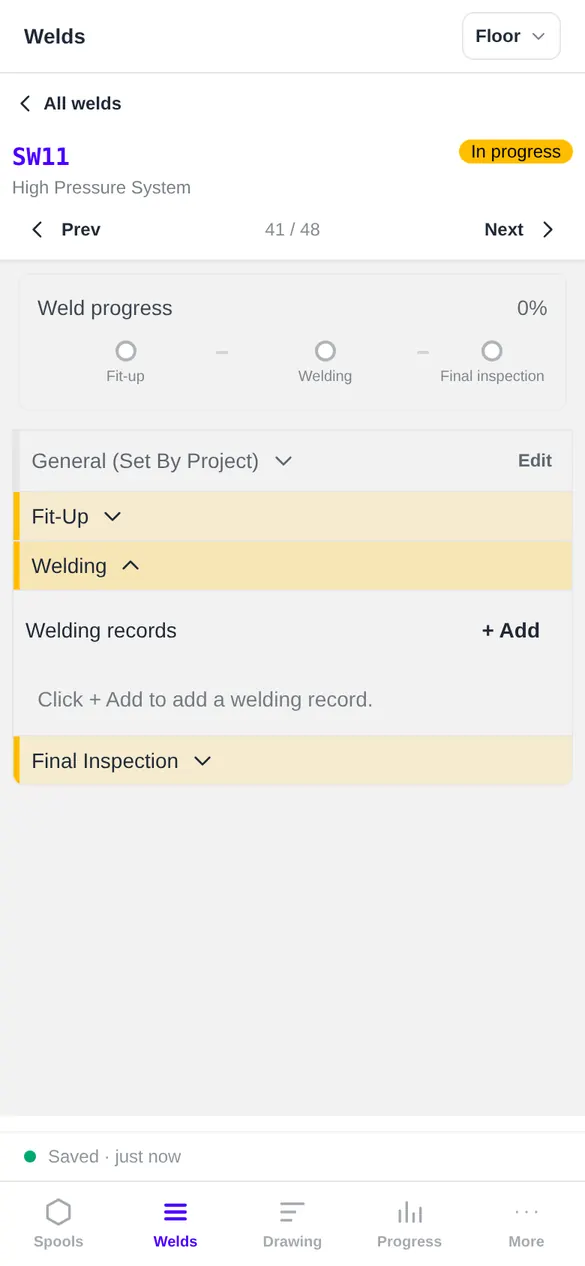
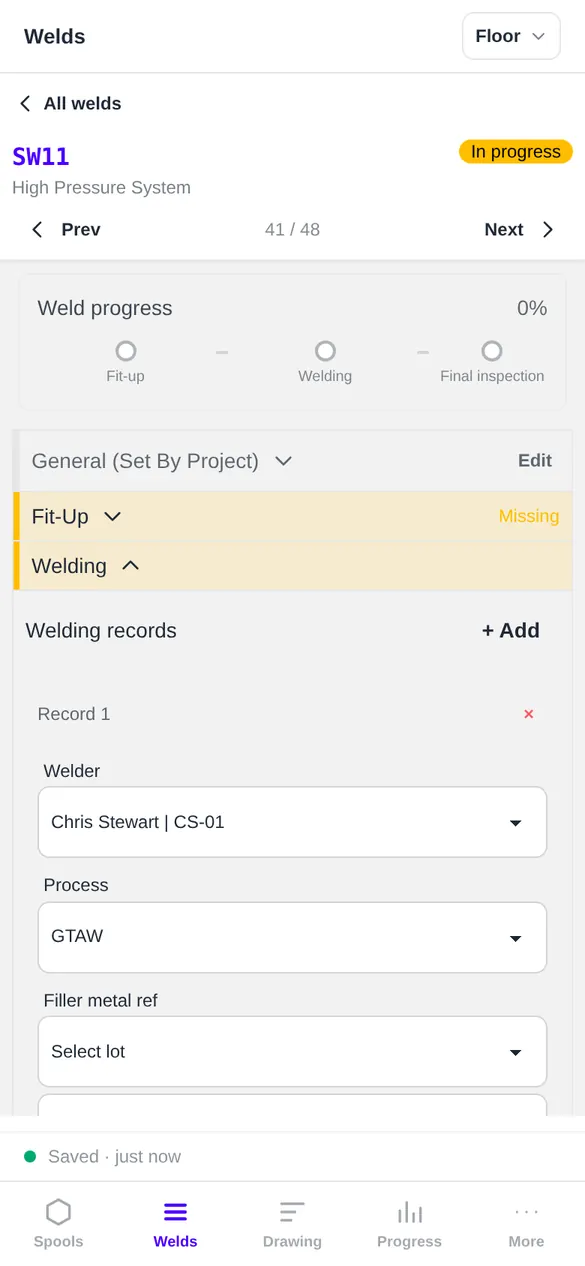
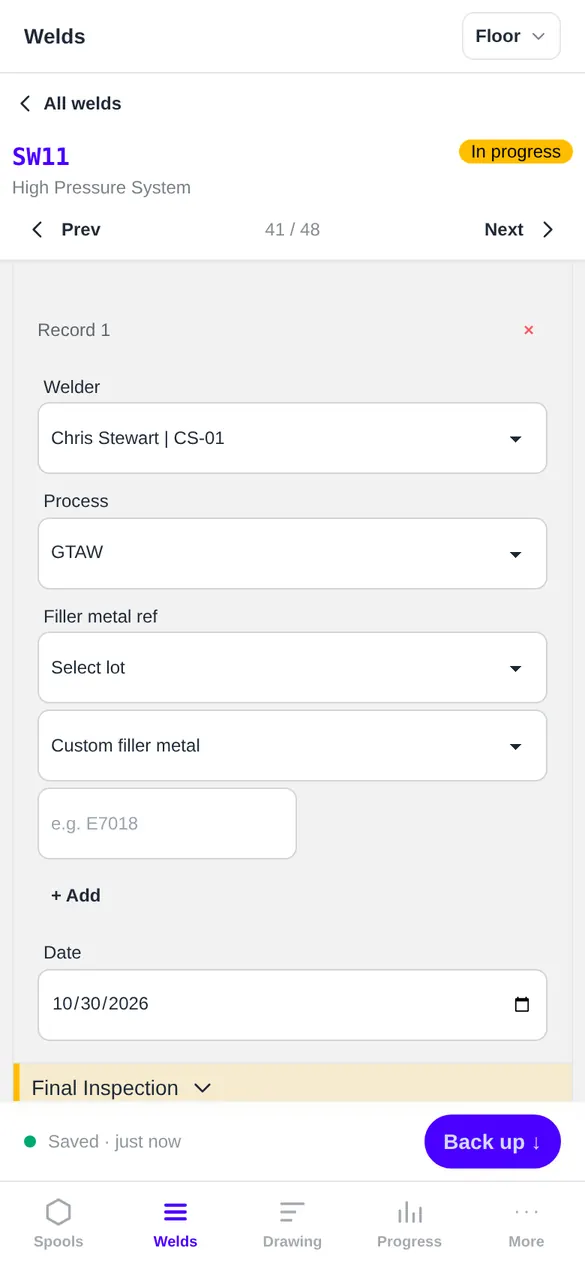
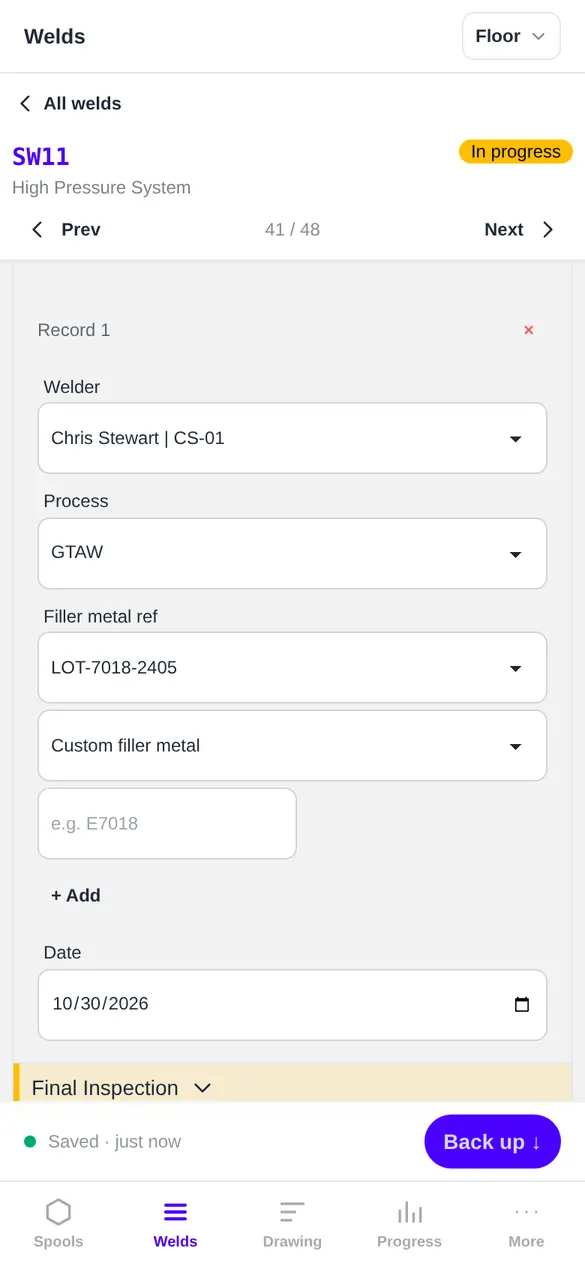
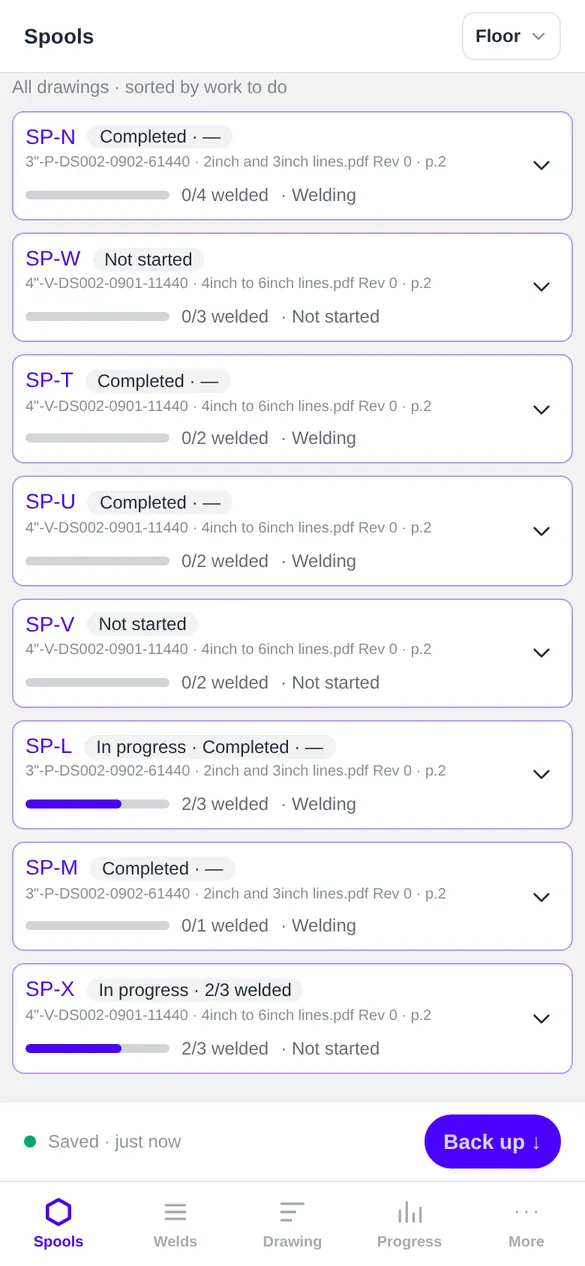
Opens spool SP-X, taps SW11 and adds the welding record. Welder, process and date are already filled; he picks the filler lot. Back on the list, SP-X reads 2 of 3 welded.
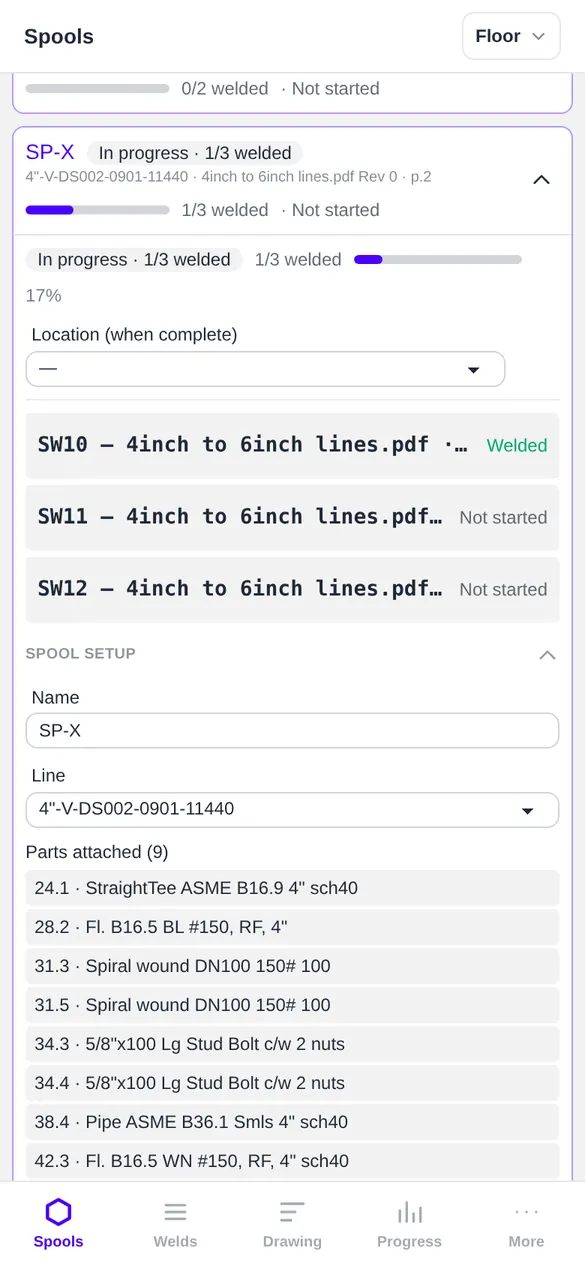
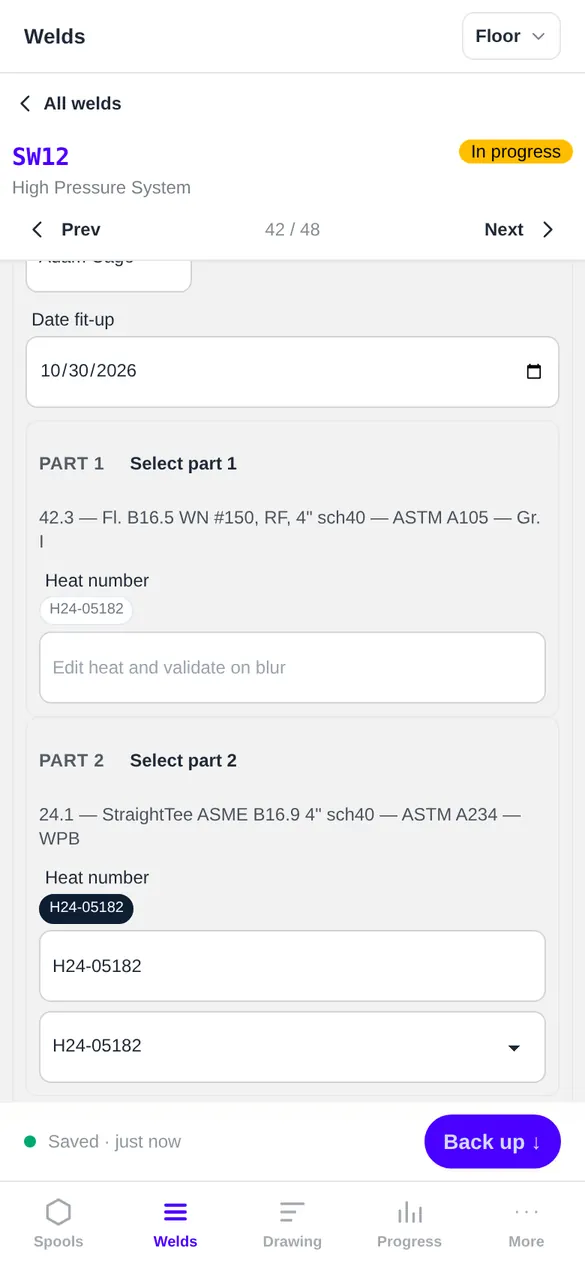
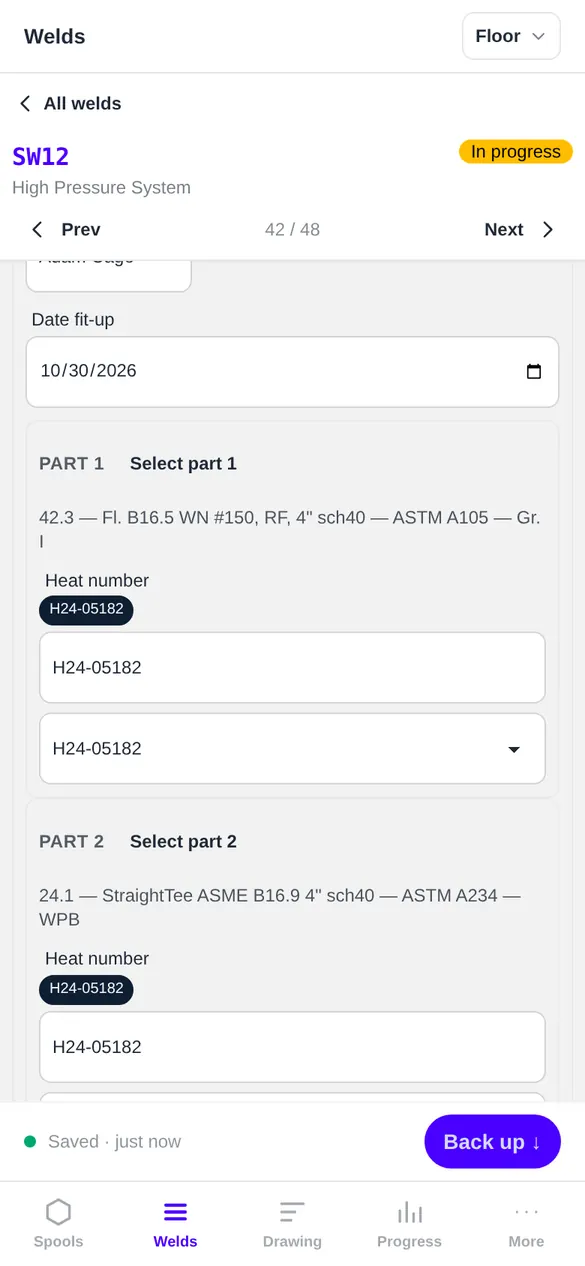
QC, at the fit-up bench
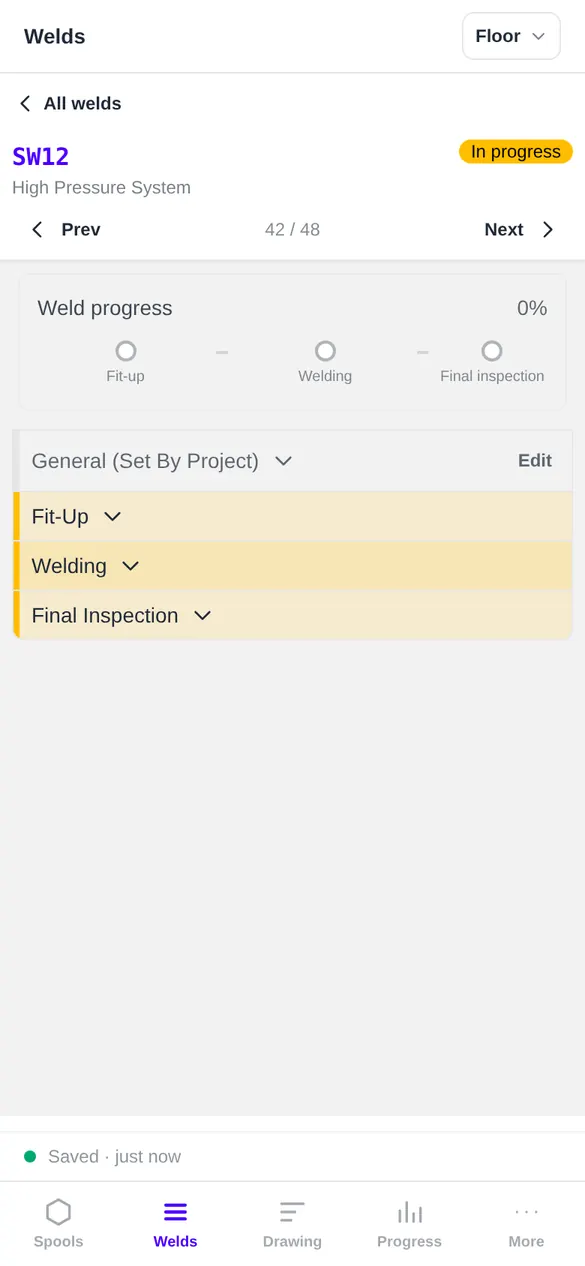
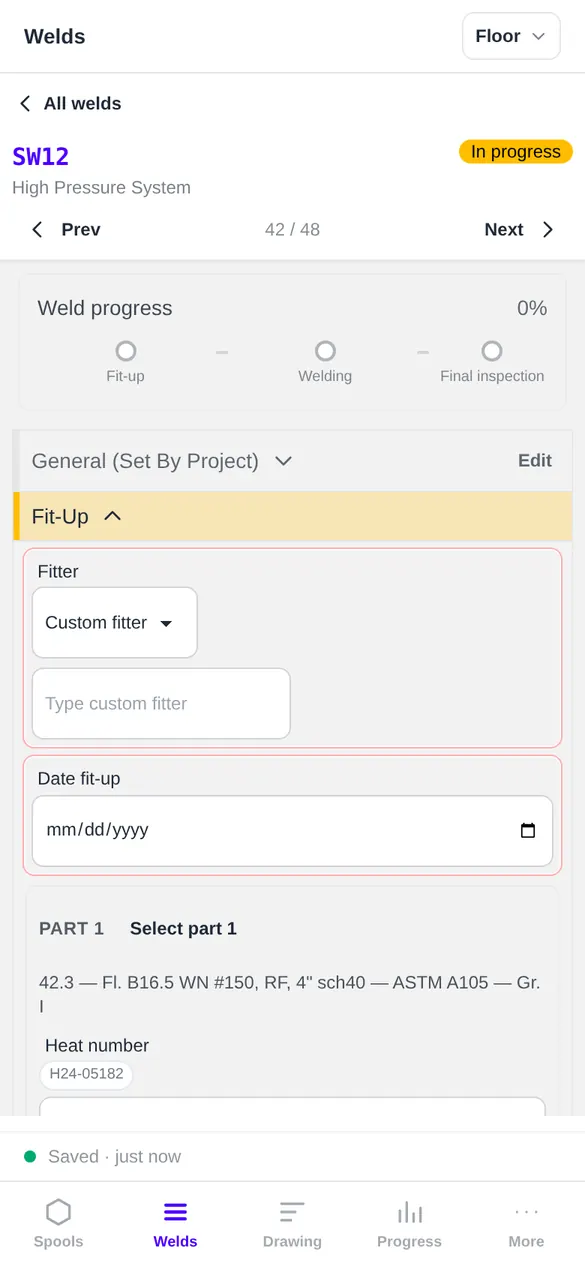
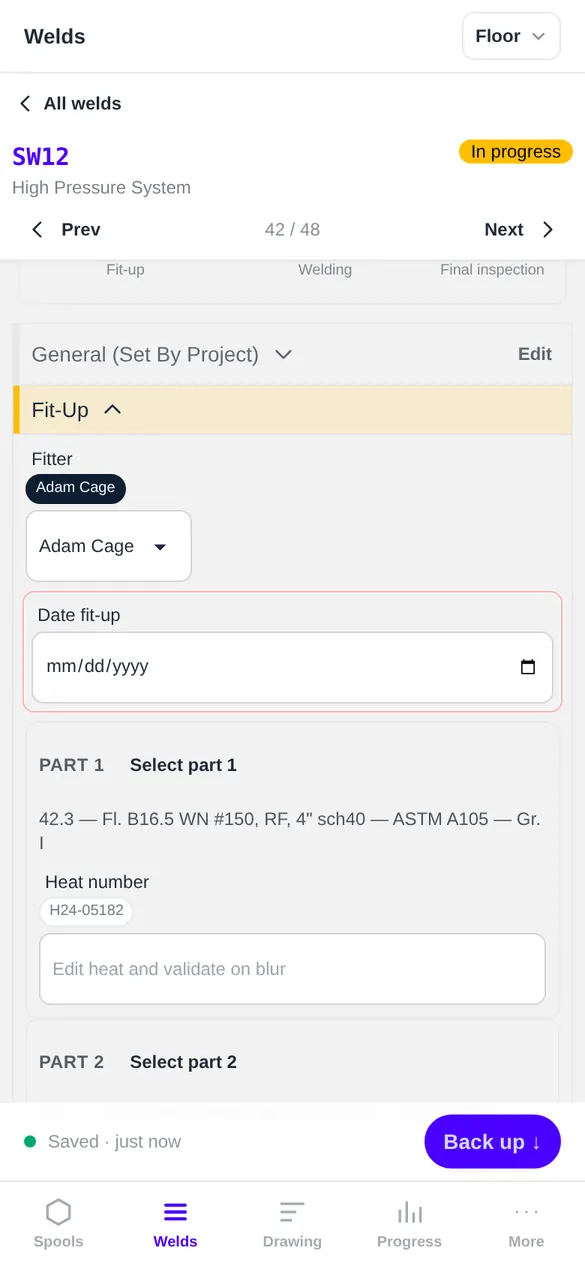
Fit-up on SW12: fitter, date, and the heat numbers off the pipe markings.
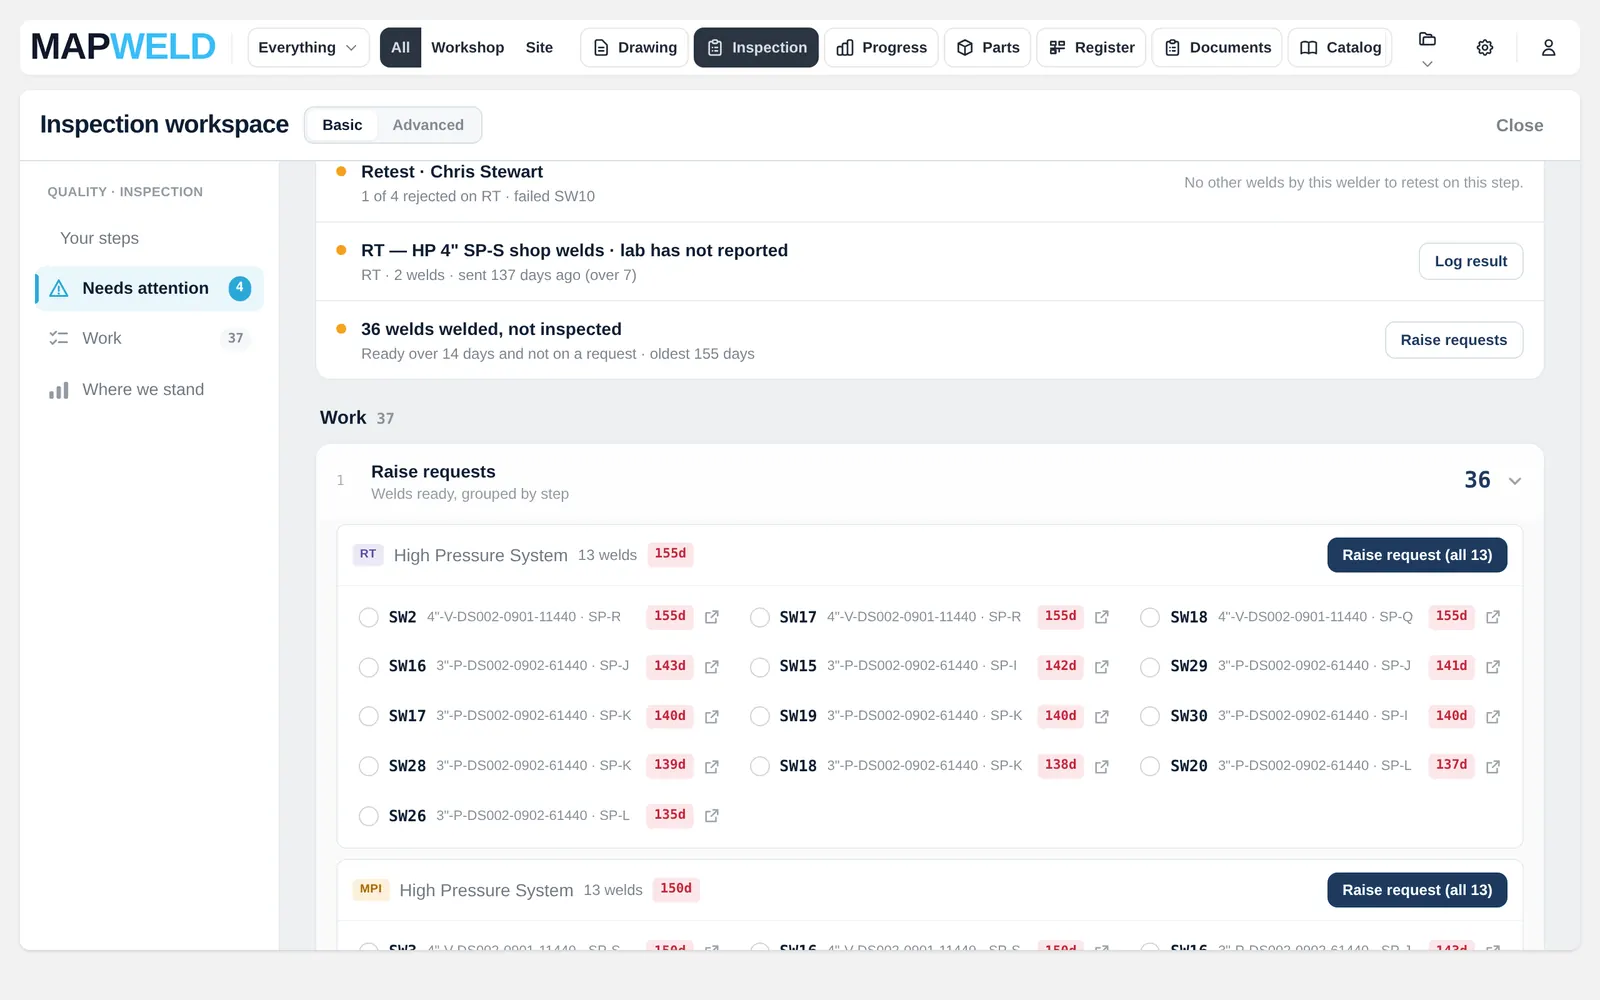
QC, at the desk
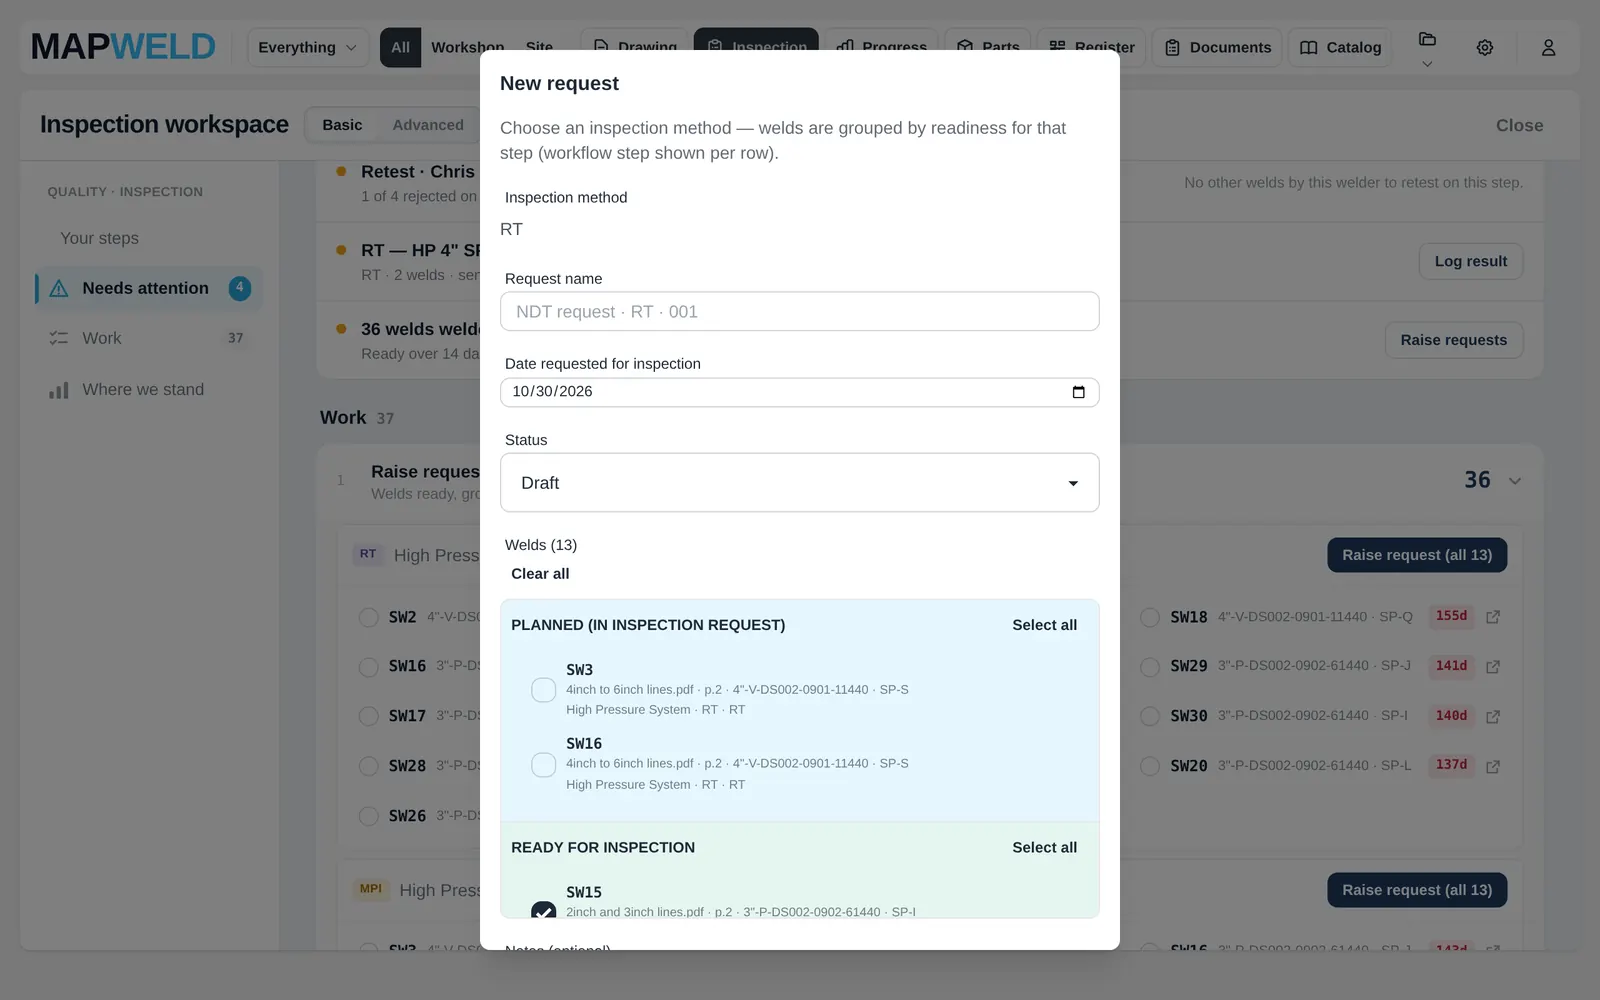
36 welds are ready for inspection. She raises the RT request from them in one go.
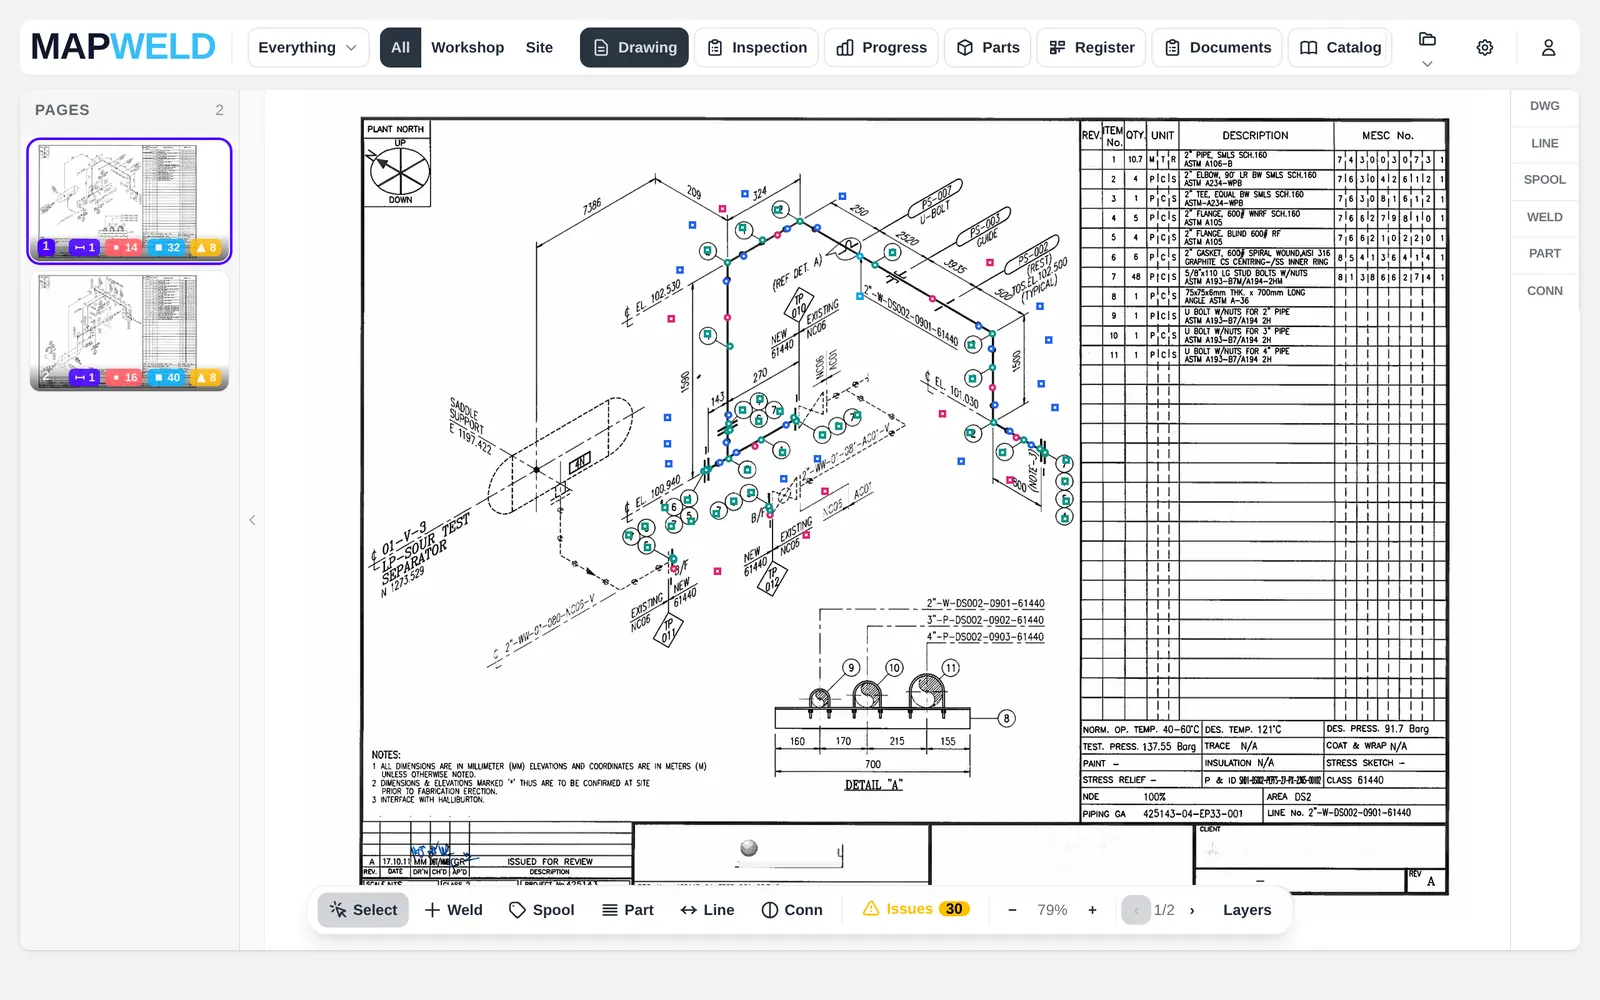
Project engineer
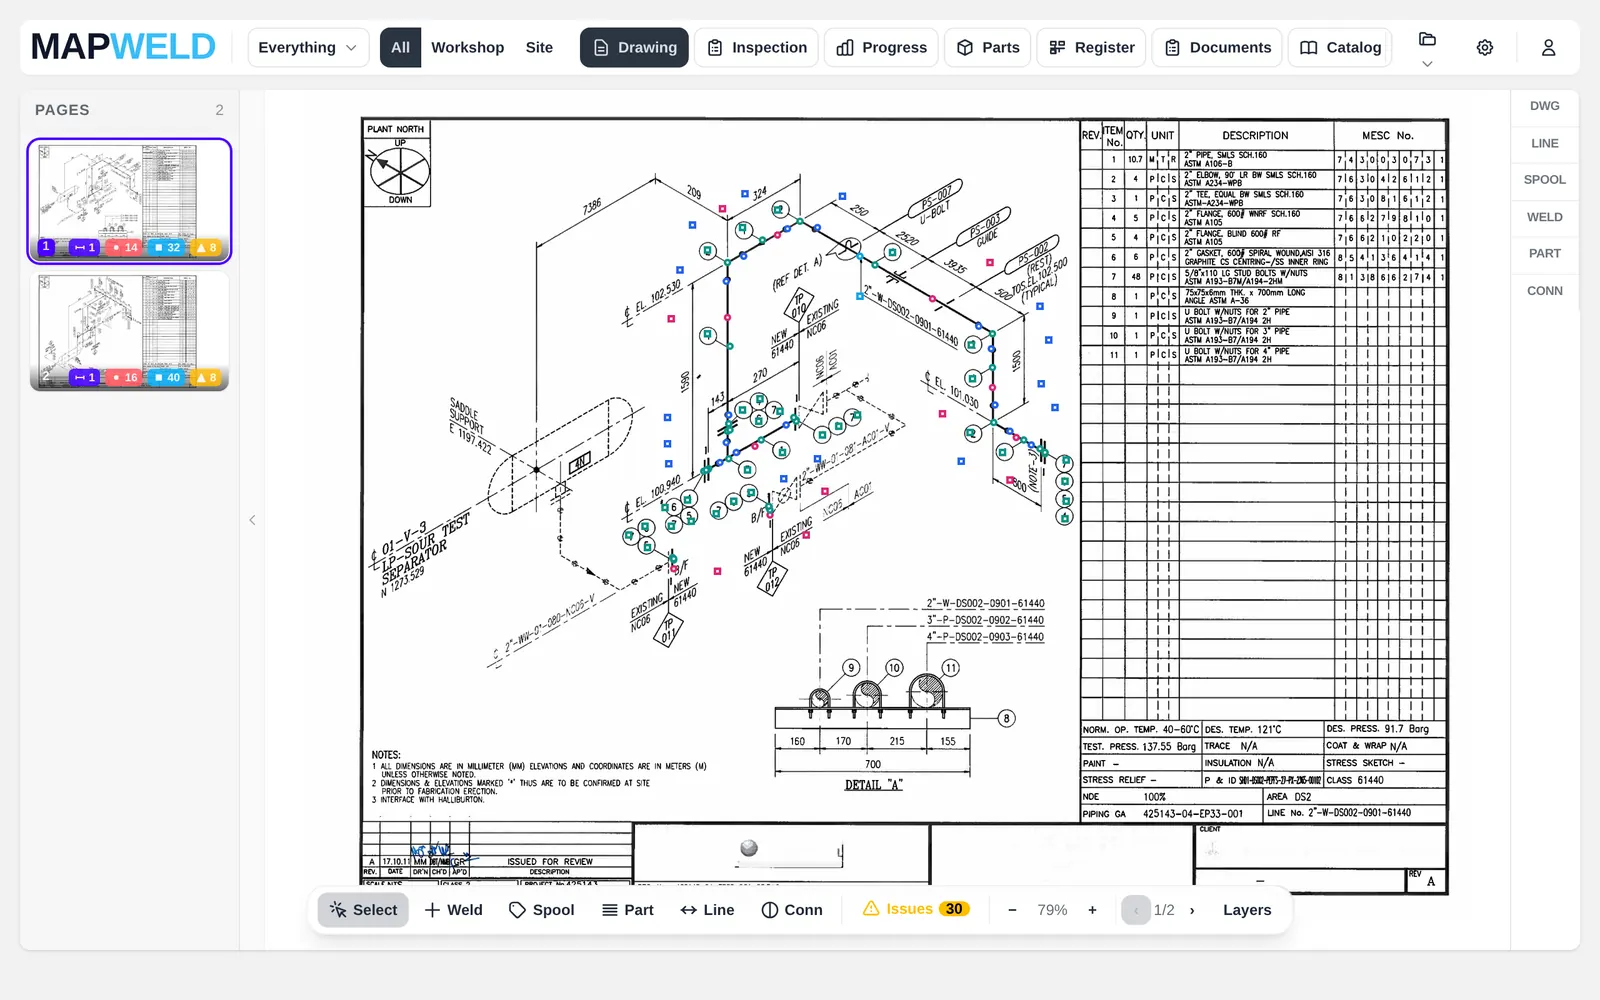
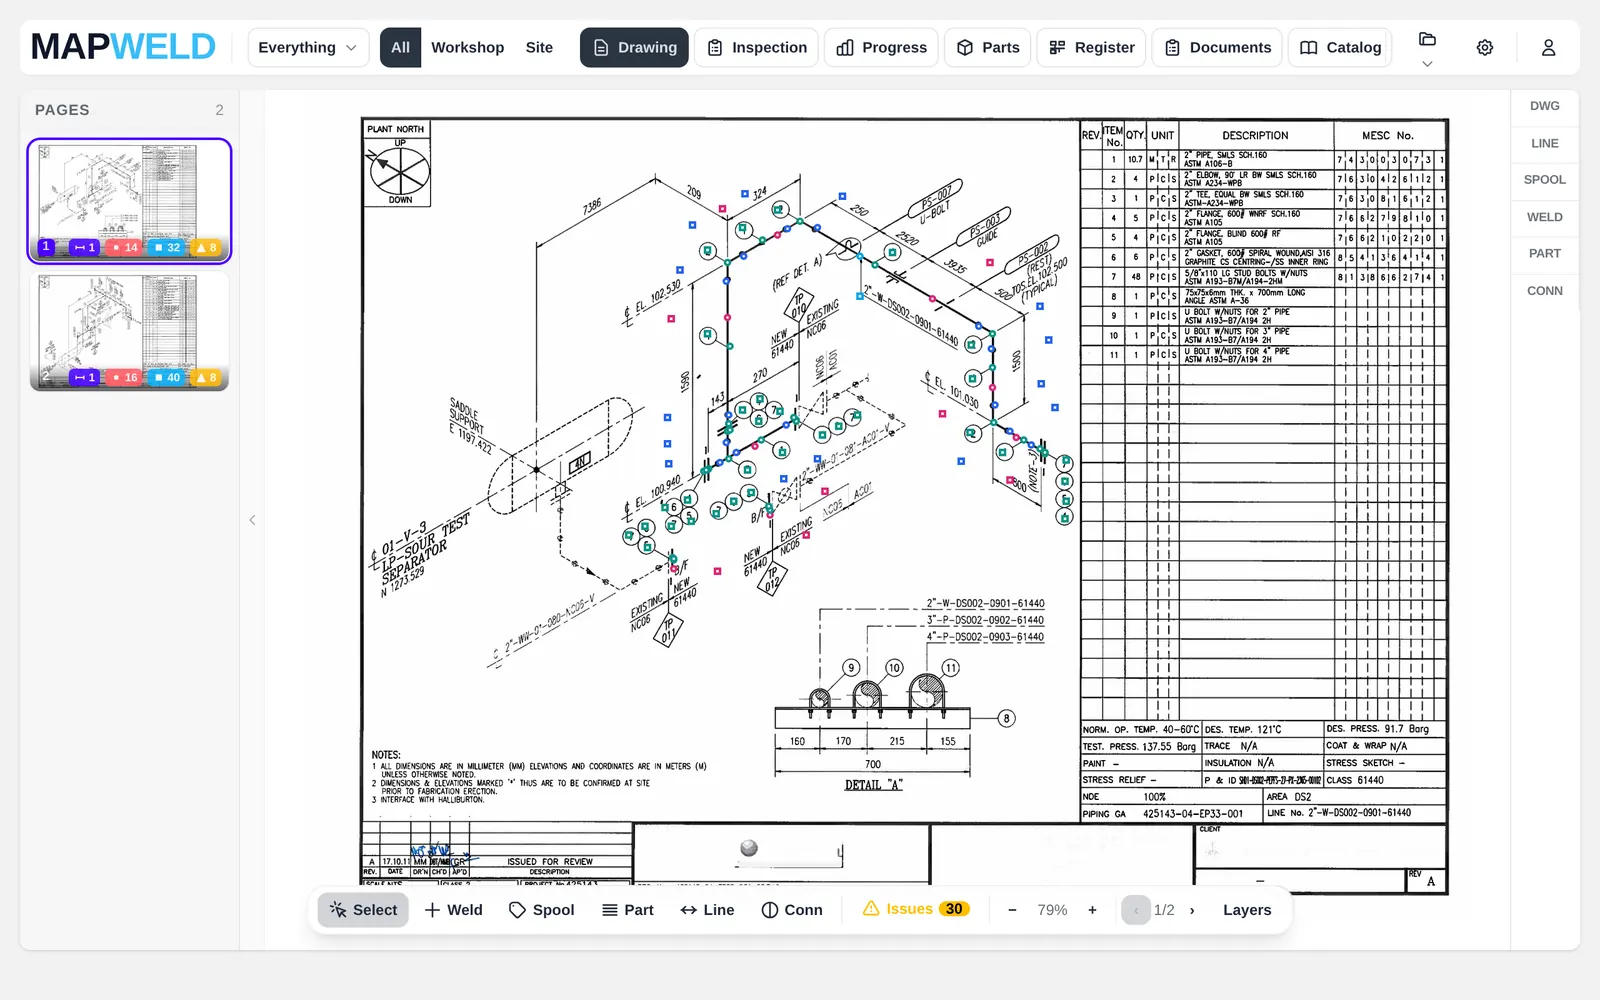
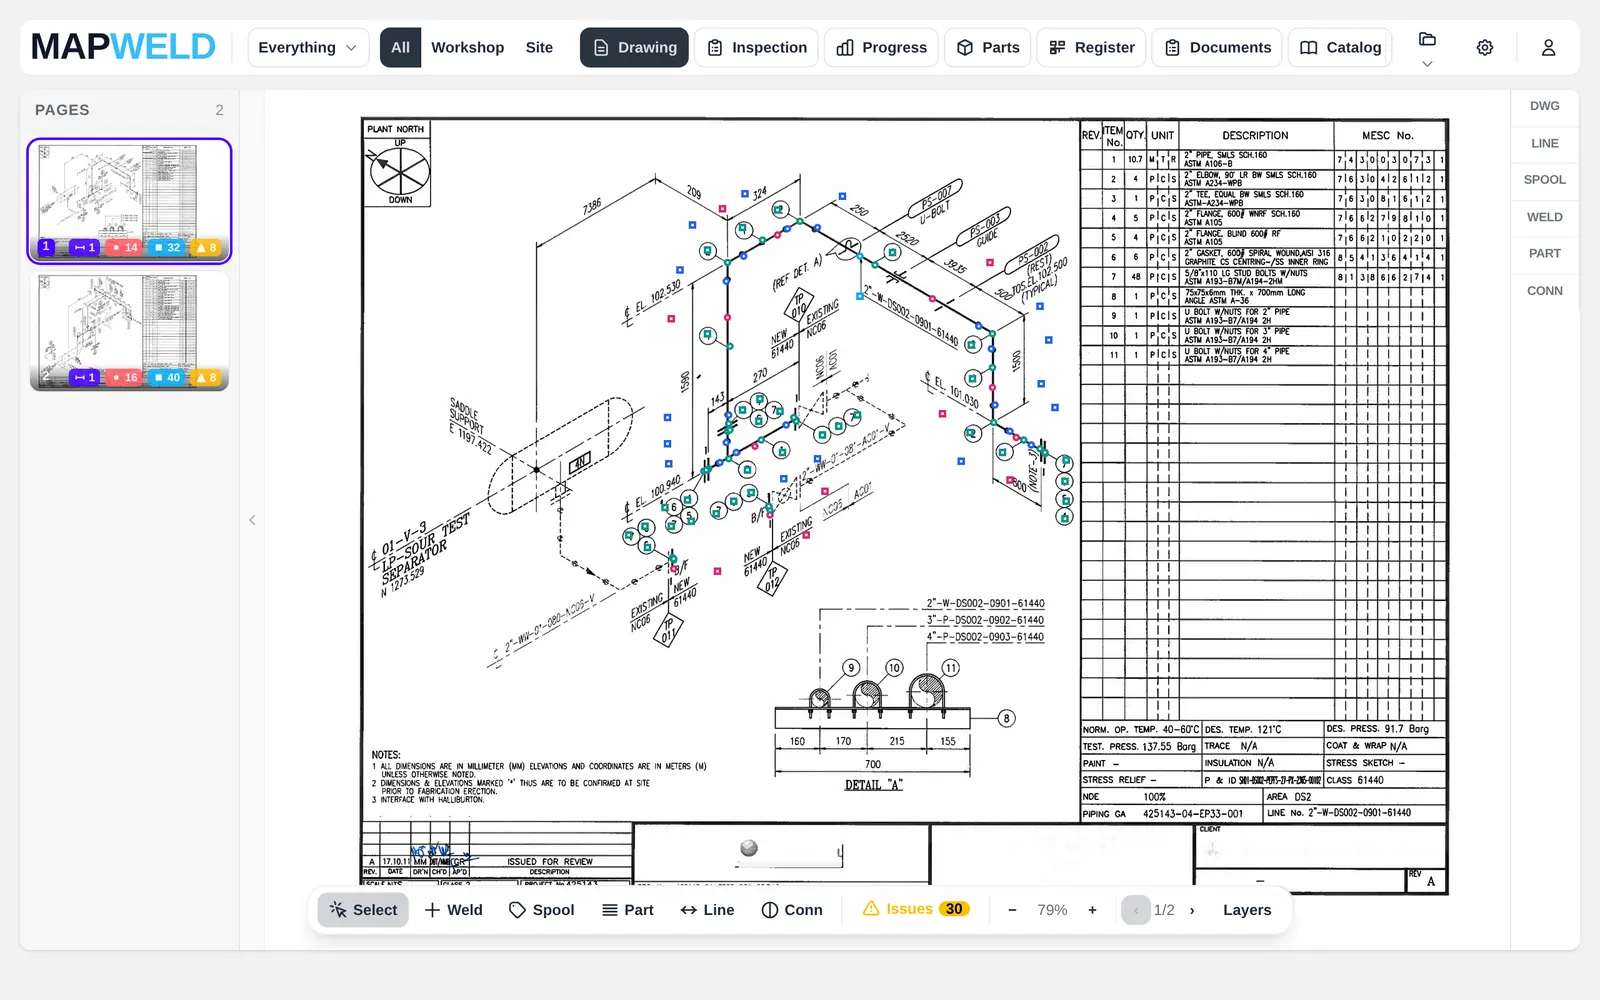
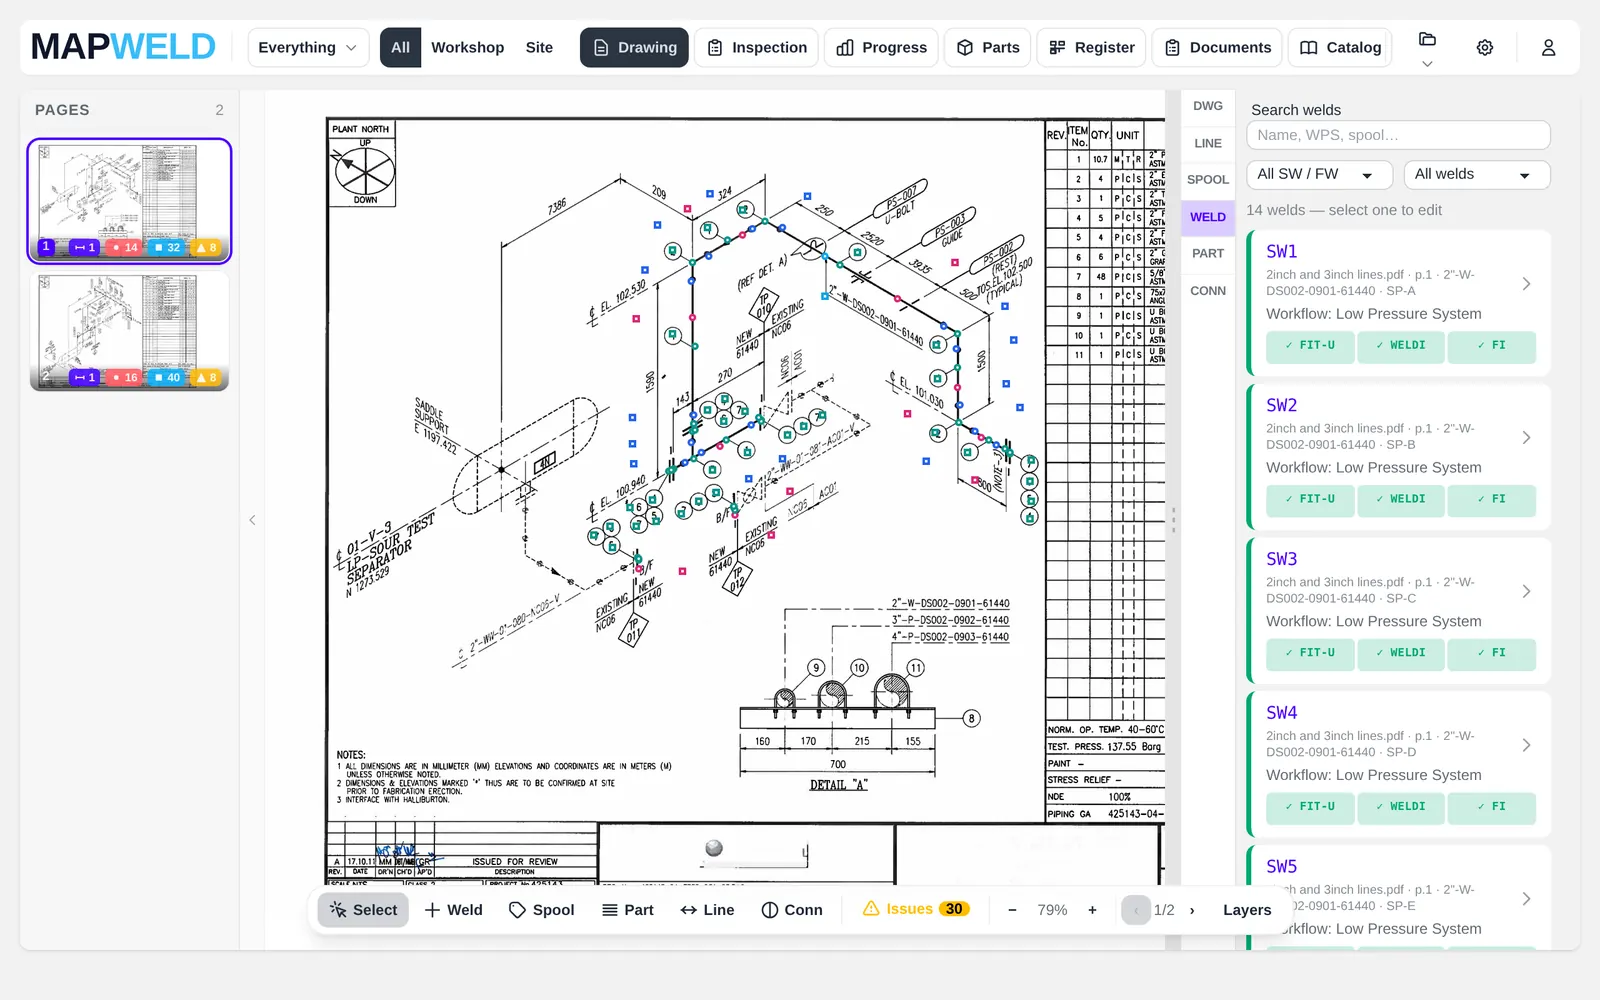
Opens the drawing. Every weld sits on the iso with its status, and the weld list shows fit-up, welding and inspection for each one.
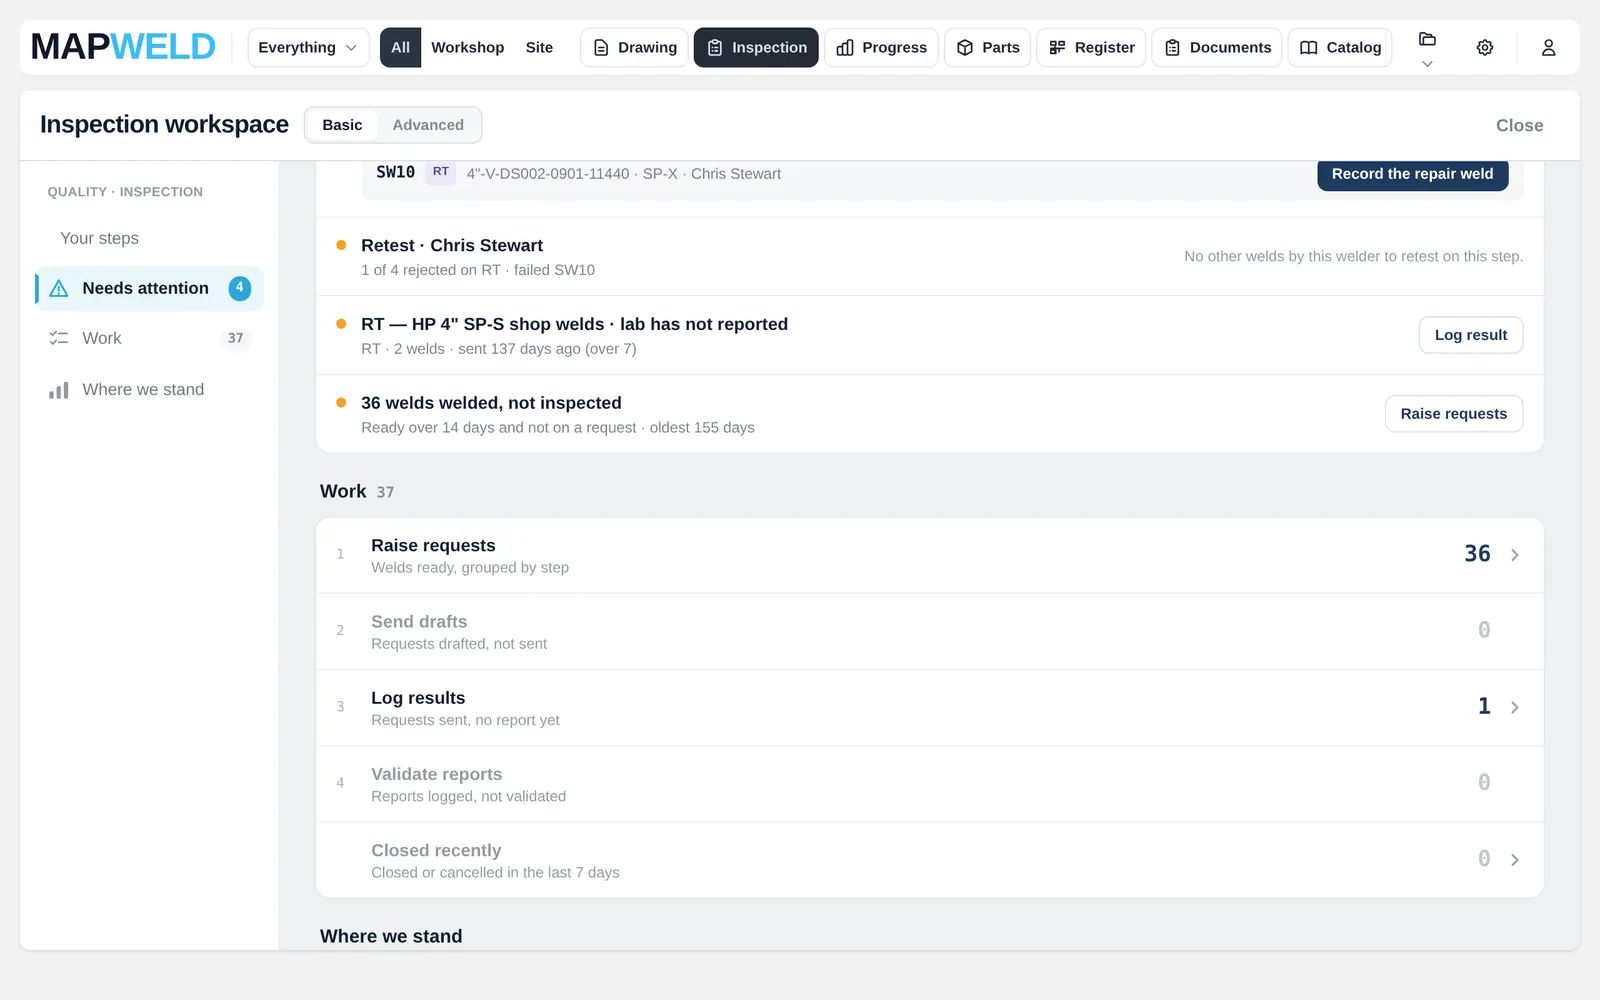
QC
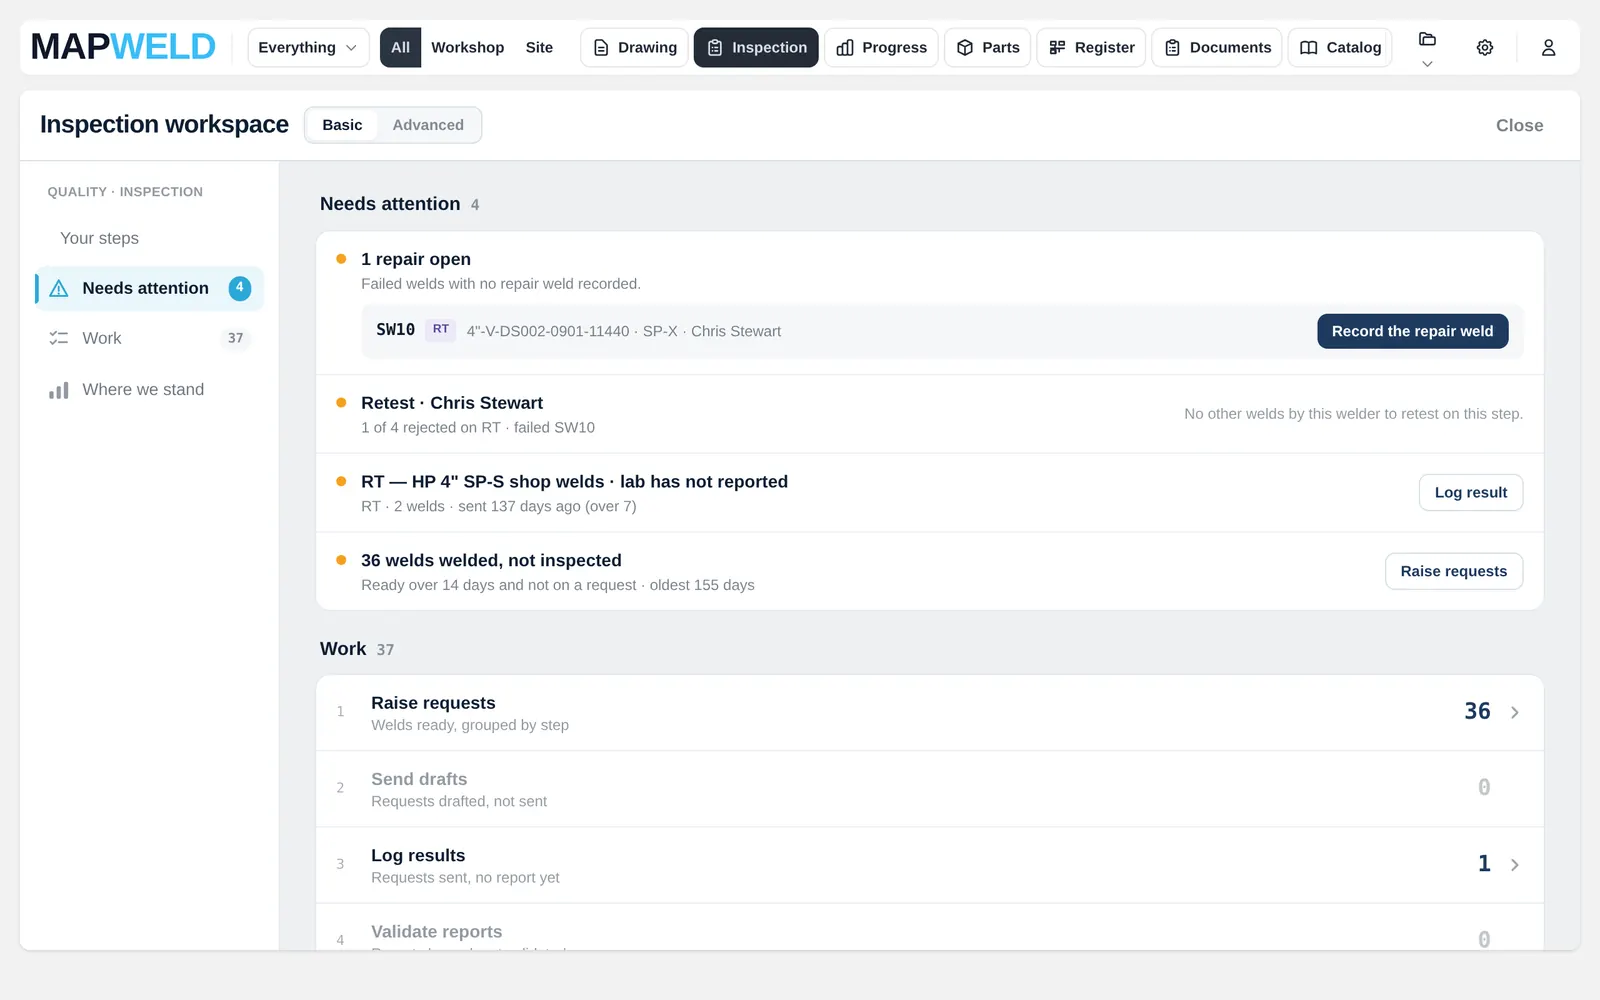
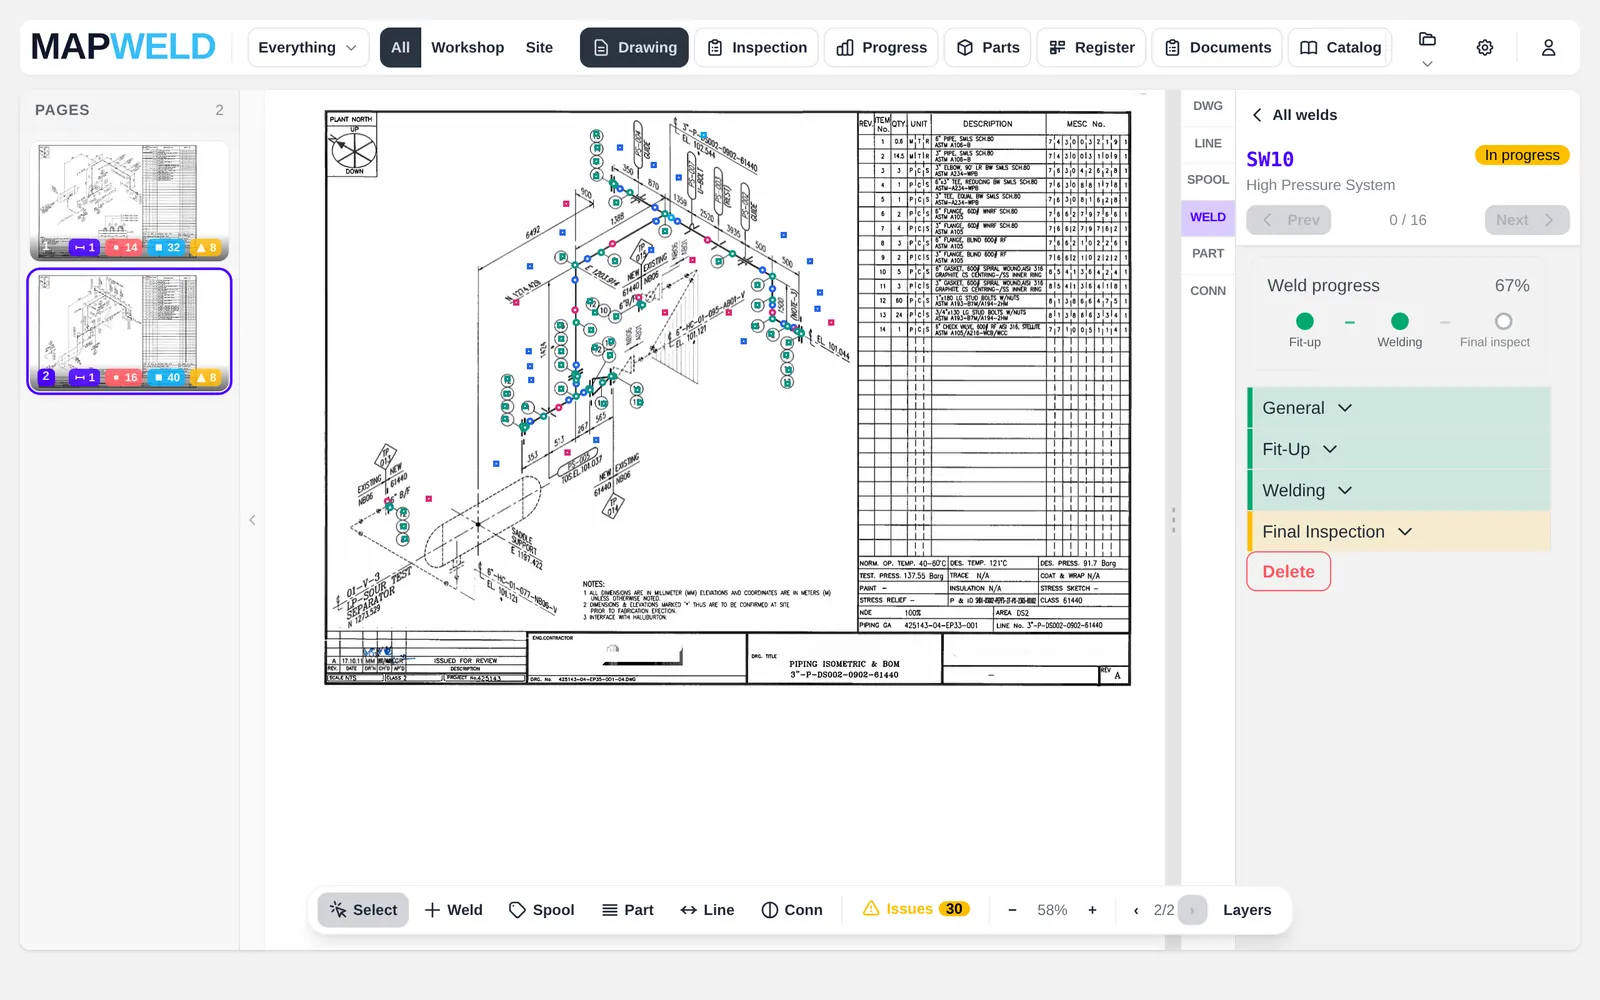
The RT reject on SW10 is waiting under Needs attention, with the welder's retest. One click opens the repair on that weld.
Project manager
Opens Progress before the client call: drawings, welds done against total, spools by stage, the bottleneck. Nobody walked the floor.
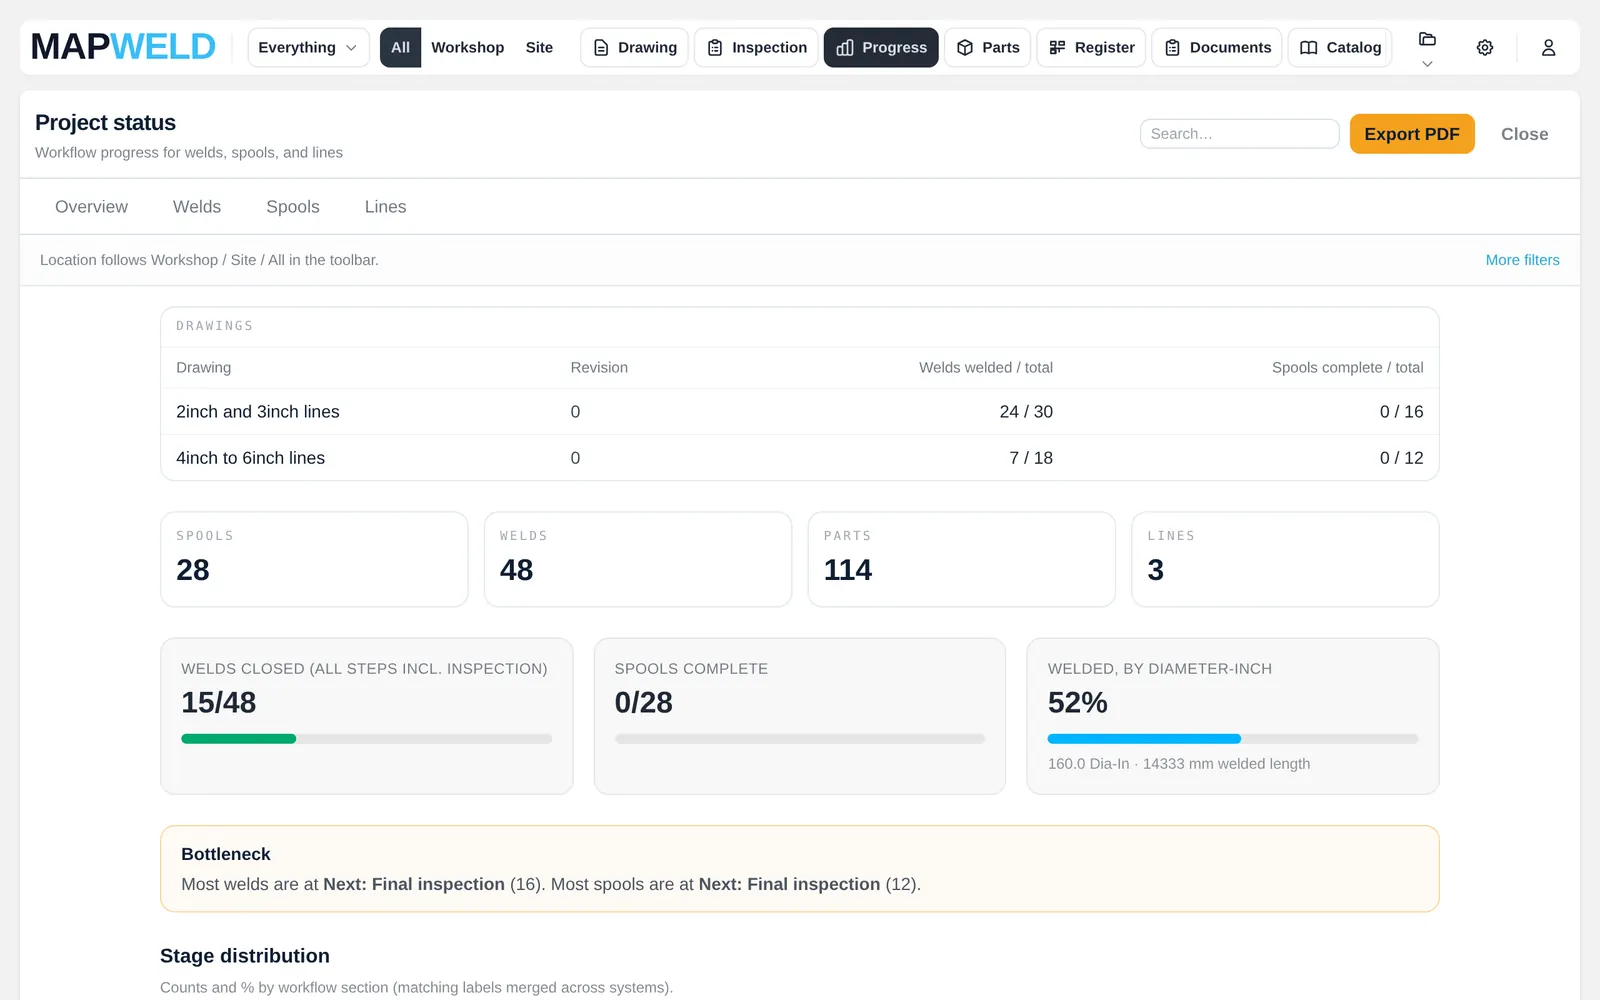
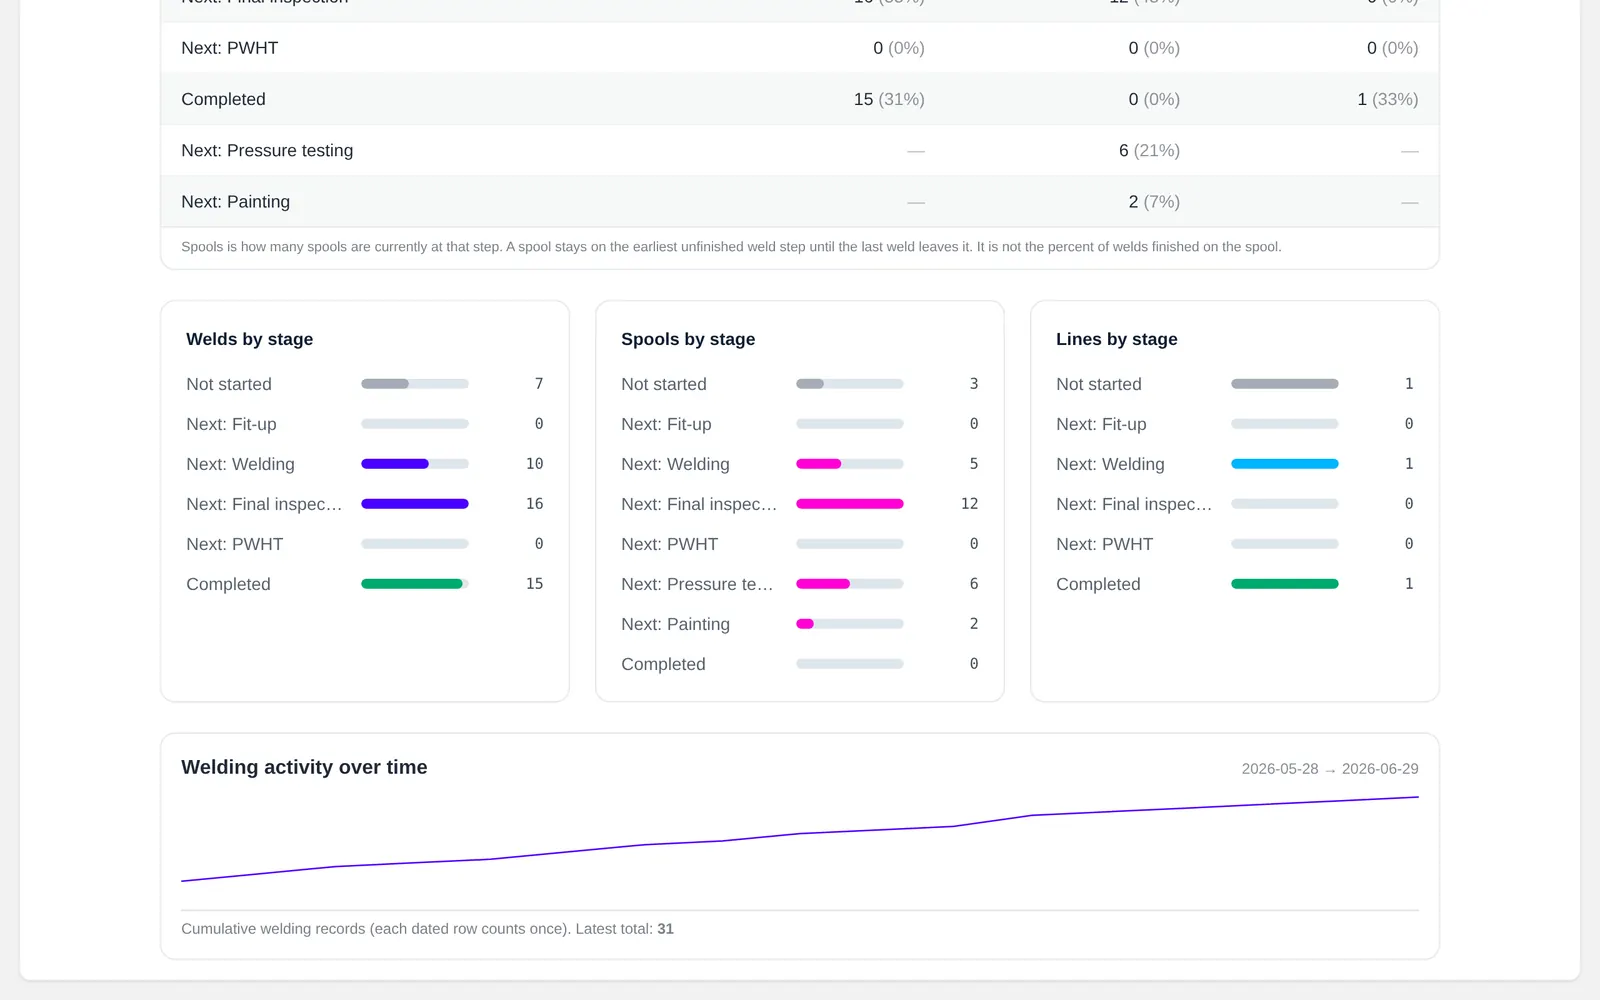
None of that needed a connection, a server or anyone from IT.
Production traceability, without the IT project.
The weld map is where it starts. What builds up behind it is the production record: every weld, spool and part, who fitted and welded it, with which WPS, filler lot and heat numbers, what was inspected, what failed and how it was repaired. The client asks for that at the end. The PM needs it every day.
It runs in the workshop, on the phone in the supervisor's pocket and the tablet on the QC bench. No server, no network to set up, no signal needed while you work.
Fifty welds or several thousand, it's the same app. If you don't need an ERP to run the job, you don't need one to trace it.
Getting started
- 1Open the app in a browser.Nothing to install, no account to start.
- 2Load your drawings and mark the welds.PDF, scan or photo. A typical iso takes minutes.
- 3Give the supervisor the Floor view.On his phone, in the shop.
That's the setup.
Try it on the next job that lands on your desk.